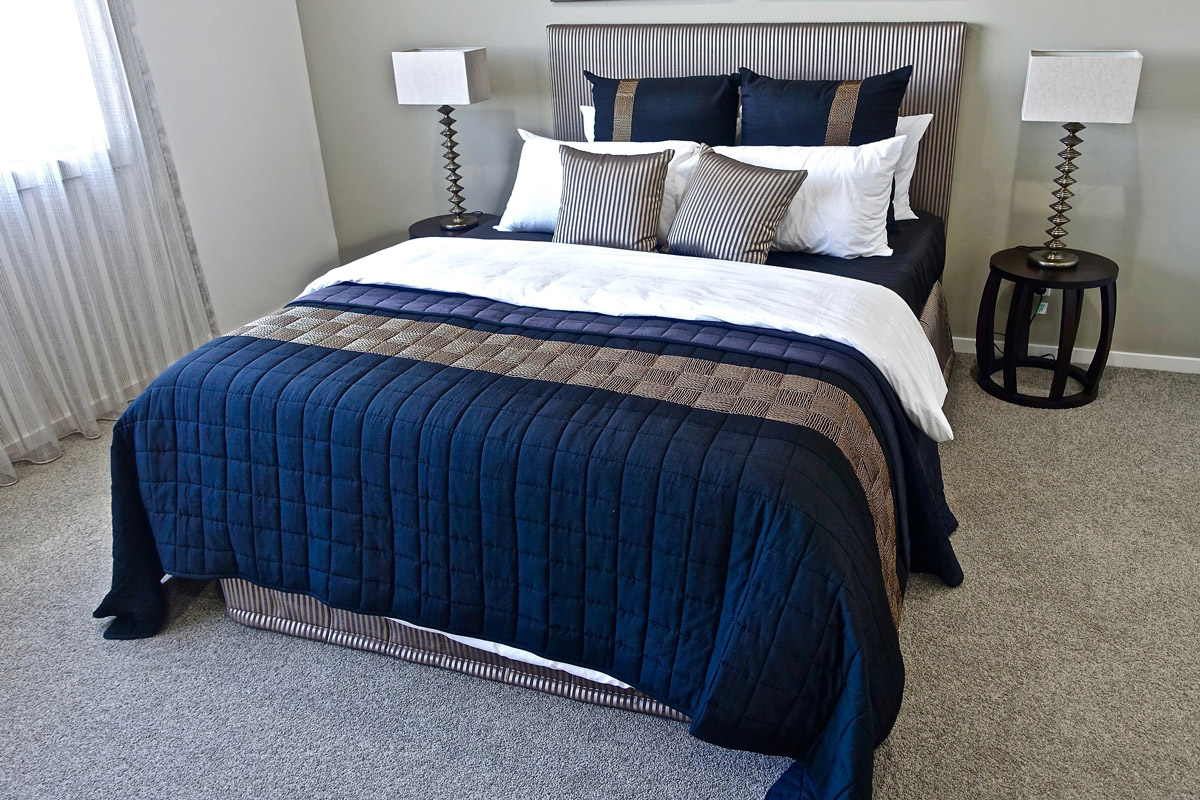
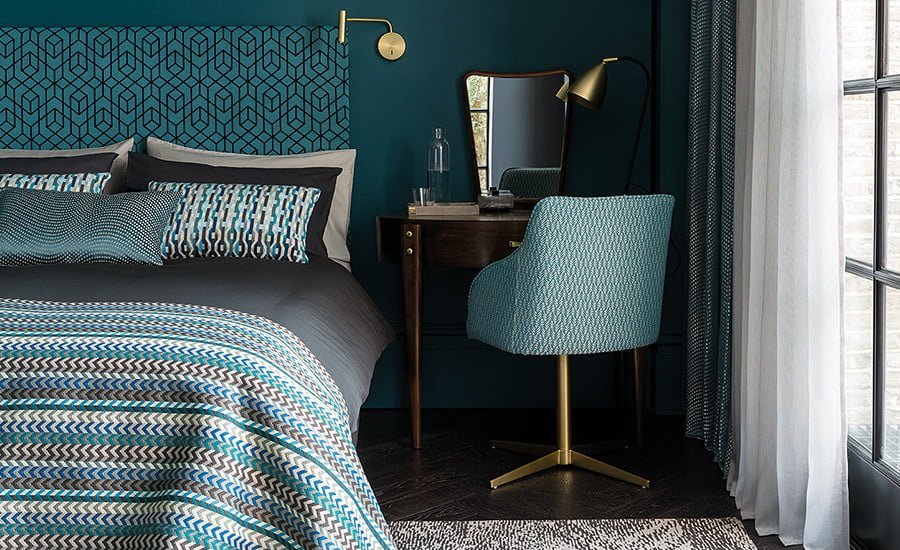
In a world where sustainability and creativity are becoming increasingly valued, searching for ways to upcycle old items into something new and beautiful has become a popular trend. If you have a vintage Candlewick bedspread lying around, don’t toss it away just yet! Instead, consider embarking on a delightful DIY headboard project that not only breathes new life into your bedroom decor but also showcases your crafting skills and environmental consciousness. In this article, we’ll guide you through the steps of creating a stunning headboard using a vintage Candlewick bedspread, offering creative upcycling ideas that will elevate your space while minimizing waste.
Unveiling the Charm of Vintage Candlewick Bedspreads
Before diving into the DIY project, let’s take a moment to appreciate the allure of vintage Candlewick bedspreads. These bedspreads, often handcrafted with intricate patterns and textures, evoke a sense of nostalgia and charm that’s hard to find in modern textiles. Dating back to the early to mid-20th century, candlewick bedspreads were a staple in many households, cherished for their durability and timeless appeal. Today, these vintage treasures are sought after for their unique aesthetic and historical significance, making them perfect candidates for upcycling projects.

Gathering Your Materials and Tools
To embark on your DIY headboard project, you’ll need a few essential materials and tools:
- Vintage Candlewick Bedspread: The star of the show! Choose a bedspread with a pattern and texture that resonates with your style and complements your bedroom decor.
- Plywood or Wooden Board: This will serve as the base for your headboard. Measure the dimensions based on the size of your bed and desired headboard height.
- Foam Padding: Opt for thick foam padding to provide cushioning and comfort.
- Fabric Adhesive or Staple Gun: You’ll need this to secure the bedspread and foam padding to the wooden board.
- Scissors, Measuring Tape, and Marker: Essential tools for cutting and measuring the materials accurately.
- Optional Embellishments: Get creative with additional embellishments like buttons, ribbons, or decorative trim to enhance the headboard’s aesthetic appeal.
Step-by-Step Guide to Creating Your DIY Headboard
Now that you’ve gathered your materials, it’s time to roll up your sleeves and get started on your DIY headboard project. Follow these simple steps to bring your vision to life:
1. Prepare the Base
Begin by cutting the plywood or wooden board to your desired headboard dimensions. If necessary, sand the edges to ensure a smooth finish.
2. Attach the Foam Padding
Lay the foam padding flat on the plywood board, ensuring it covers the entire surface. Use fabric adhesive or a staple gun to secure the padding in place, pulling it taut to prevent any wrinkles or folds.
3. Position the Vintage Bedspread
Spread out your vintage Candlewick bedspread over the foam padding, aligning it evenly with the edges of the plywood board. Take care to center the bedspread and smooth out any creases or wrinkles.
4. Secure the Bedspread
Using fabric adhesive or a staple gun, carefully attach the bedspread to the plywood board, starting from the center and working your way outwards. Pull the fabric taut as you go to ensure a snug fit and eliminate any excess material.
5. Add Embellishments (Optional)
Get creative with embellishments to personalize your headboard. You can sew on buttons along the tufted areas of the Candlewick bedspread, add decorative trim around the edges, or incorporate ribbon accents for a touch of whimsy.
6. Mount Your Headboard
Once the adhesive has dried or the staples are securely in place, it’s time to mount your DIY headboard to the wall behind your bed. Use appropriate wall anchors and screws to ensure stability and safety.
Revel in Your Upcycled Masterpiece
With your DIY headboard project complete, step back and admire the transformation you’ve achieved. Not only have you breathed new life into a vintage Candlewick bedspread, but you’ve also created a stunning focal point for your bedroom that reflects your unique style and commitment to sustainability. Every time you lay your head down to rest, you’ll be reminded of the beauty of upcycling and the joy of turning old into new.

Conclusion
Embarking on a DIY headboard project using a vintage Candlewick bedspread is not only a creative endeavor but also a meaningful way to upcycle cherished textiles and reduce waste. By repurposing materials that hold sentimental value or historical significance, you can infuse your living space with character and charm while minimizing your environmental footprint. So, gather your supplies, unleash your creativity, and embark on a journey of transformation that celebrates the beauty of upcycling and the art of reinvention. Your bedroom—and the planet—will thank you for it.
Read More: The history of candlewick bedspreads: From colonial times to modern homes